I borrowed this book from the library and have been pouring over the pages. I like to make my own stamps on occasion and this book has all the info anyone would need to be successful.
I was busy last evening looking for some documentation I needed for my refy and it took awhile, but I found what I was looking for - YEAH!
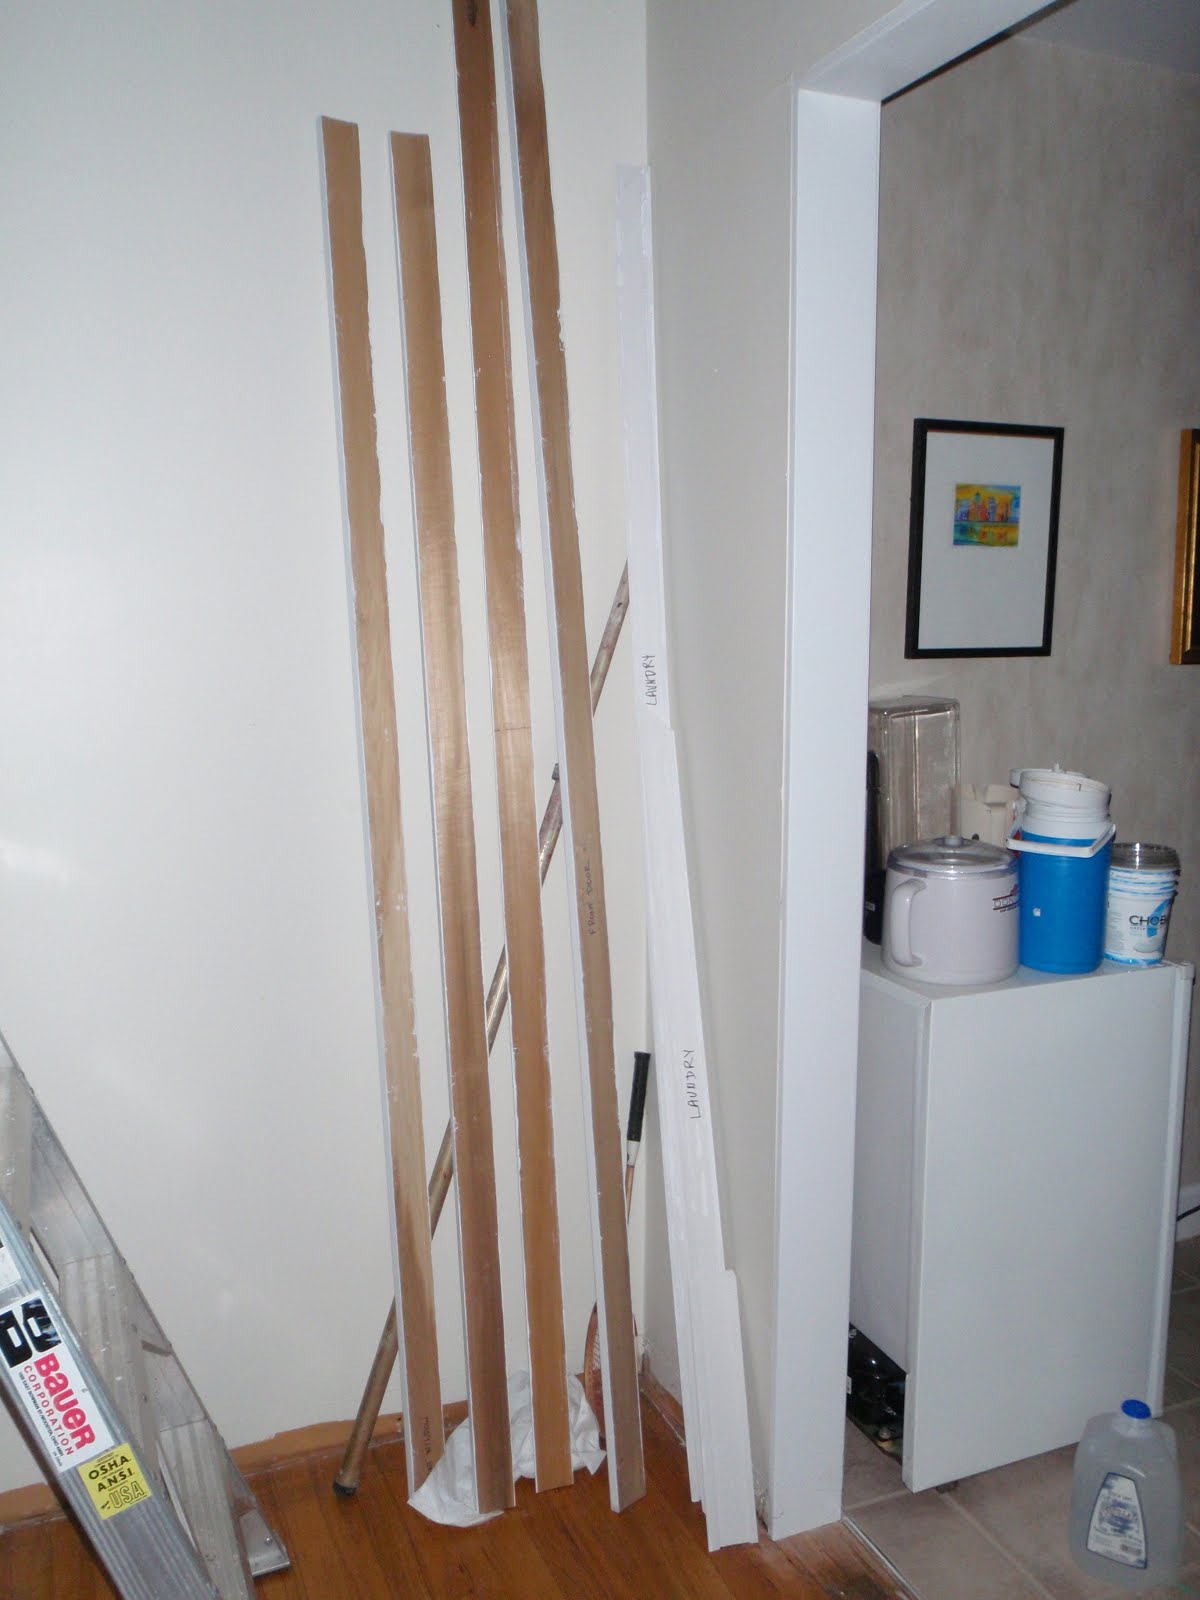
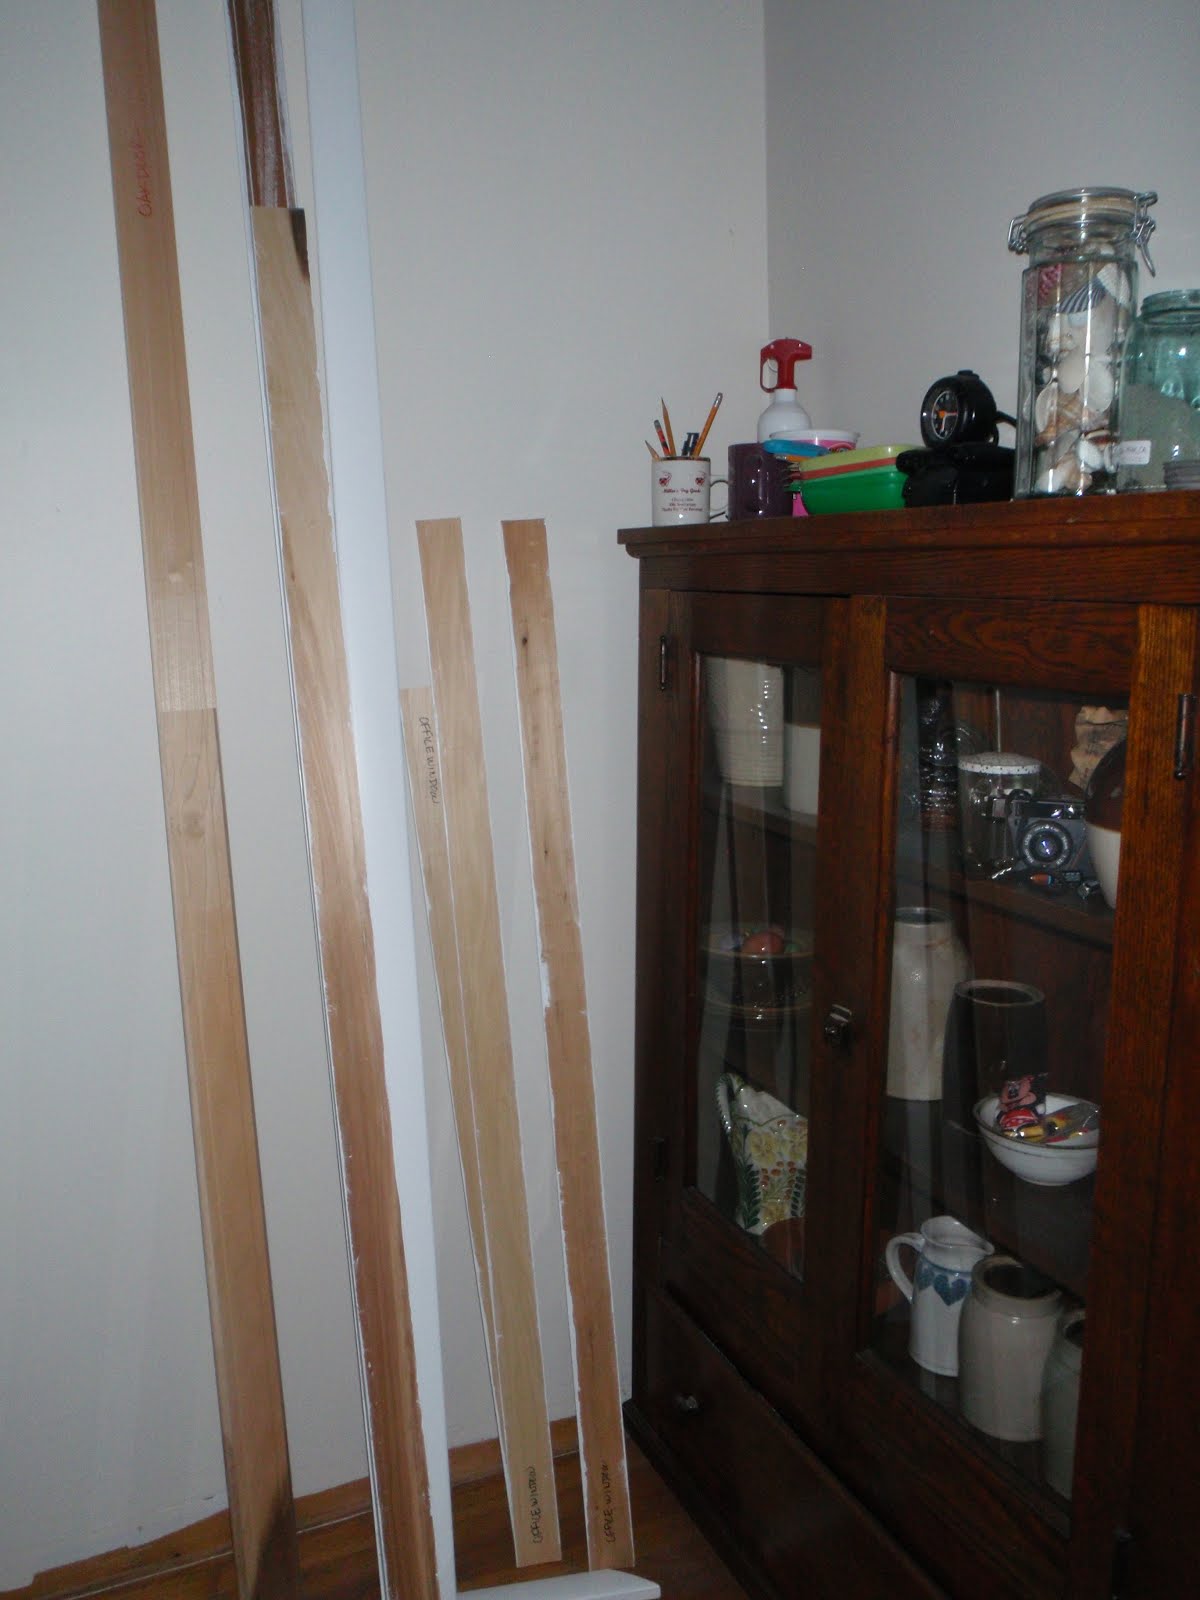
I also needed to take some pictures of two of the closets that don't have doors. When I bought this house these two closets had the most awful metal louvered, beat up, dented floor to ceiling doors. I ripped those out while I had a dumpster in the driveway. Well now I need to get them replaced so I needed pictures and measurements for the lumber company to figure out a price.
The sunrise was so pink again this morning!
Thursday, January 10, 2013
Wednesday, January 9, 2013
Postcard, pillowcase problem solved, and the house project
I received this lovely fabric postcard in the mail over the holidays from Vicki of Field Trips in Fiber. Vicki dyes the most beautiful fabric and it was an honor to receive one of her postcards. It is now hanging on my smaller design wall along with other small fabric art pieces I have collected from other artists.
After making pillowcases for my nieces and nephews for years I finally had a light bulb moment to solve a problem I run into once in awhile. The problem was that if I had a one way design and I wanted it to be orientated a certain way, I always had to figure out which end needed to be sewn to the border fabric. Once in a while I would sew it to the border fabric wrong the the design did not go in the direction I wanted it. Well, over xmas I finally figured out an easy way to solve this problem. When I cut the one way print I only cut the edge that I want to attach to the border fabric and not both ends. That way I know which end to attach because the other end won't have a nice clean cut. After I have the pillowcase turned to do the final seam, I trim the other end and their you go! Problem solved! Why did it take me so many years to figure this out?
I spent last eveing sorting thru piles of paper, you know that stuff that just collects, receipts, paid bills, paycheck stubs, bank statements, etc. I thought I had a handle on them last year, but I gathered up stuff from all over the house. It is all sorted now and all I have to do is stick it in the file. A lot of this was in the x-tra bedroom that I call the office and since I am going to rip out one of the walls this weekend - I will go into more about this later - I need to get the room cleared out and the paper piles was the first thing I tackled. I need to order some supplies - drywall and some trim pieces - from Keim Lumber in Charm, Ohio (they deliver! a 4x8 sheet of drywall will not fit into an Eclipse!) My brother is coming over next Tuesday to help me with jobs I cannot do myself like installing 4x8 sheets of drywall onto the wall I am ripping out.
After making pillowcases for my nieces and nephews for years I finally had a light bulb moment to solve a problem I run into once in awhile. The problem was that if I had a one way design and I wanted it to be orientated a certain way, I always had to figure out which end needed to be sewn to the border fabric. Once in a while I would sew it to the border fabric wrong the the design did not go in the direction I wanted it. Well, over xmas I finally figured out an easy way to solve this problem. When I cut the one way print I only cut the edge that I want to attach to the border fabric and not both ends. That way I know which end to attach because the other end won't have a nice clean cut. After I have the pillowcase turned to do the final seam, I trim the other end and their you go! Problem solved! Why did it take me so many years to figure this out?
I spent last eveing sorting thru piles of paper, you know that stuff that just collects, receipts, paid bills, paycheck stubs, bank statements, etc. I thought I had a handle on them last year, but I gathered up stuff from all over the house. It is all sorted now and all I have to do is stick it in the file. A lot of this was in the x-tra bedroom that I call the office and since I am going to rip out one of the walls this weekend - I will go into more about this later - I need to get the room cleared out and the paper piles was the first thing I tackled. I need to order some supplies - drywall and some trim pieces - from Keim Lumber in Charm, Ohio (they deliver! a 4x8 sheet of drywall will not fit into an Eclipse!) My brother is coming over next Tuesday to help me with jobs I cannot do myself like installing 4x8 sheets of drywall onto the wall I am ripping out.
Tuesday, January 8, 2013
Binding - a challenge - my kunckle
Over the holidays I spent a few days at my friend's house. She had lost her husband on Jan. 2, 2011 and she would have been alone for New Year's and I could not let that happen so we sewed and visited over New Year's. I did not bring any sewing, but was there to help her out. She set me on task to tackle putting binding on the second quilt she ever made. The quilt belongs to her mother-in-law and the binding (the satin blanket binding - LOL!) was shot. She has already removed the binding - thank goodness - so all I needed to do was to rebind it. We found some fabric in her stash and got to work. The challenge part was what to do with the corners - read on. She had not added a triangle at the corner so there would be a 90 degree angle. What I did was bind the long sides of the quilt first and complete the hand sewing too. Then I sewed the binding across the cut off corners. Now in this I cut off the excess side binding - I learned I should have not done that, but it was not the end of the world. Later on you will see that I use that as a guide to sew the corner binding and it was a nice handle to hang on to.
Next I pressed the binding away from the quilt and the quarter inch at the raw edge - well I pressed that up along the entire length of the binding.
Next I folded the binding back onto itself carefully matching the sewn edge of the binding to the folded up 1/4" folded edge of the binding. I pinned at the quilt side of the binding and pinned the loose binding close to the edge of the quilt.
Next I flipped the quilt over to the back side for sewing. Where I sewed was right along the edge of the long side binding. The long side binding is your guide so not cutting it off helps a bit. Sew one side and then the other.
Next I trimmed the ends off the corner binding
Then flip the binding right side out and gently poke the corners out
Hand stitch and your done! Peg took some pictures because she has another new quilt that has the same time of corners and now she knows how to bind them. I have not seen this done anywhere, I just figured it out. It looks curved in the picture but it was straight.
I started out with 3" binding stripes. I know that is sorta wide, but I wasn't sure how it would work with really narrow binding. There is a lot of raw edges to stuff in where you fold the binding over to the stitching line at the sewn edge.
Let me know if you have any questions or if this is a technique that helped you solve a binding problem - I would be intrested.
My knuckle looks pretty good this morning. It has healed up much faster than I thought it would.
Look at the sky this morning - so pink!
Next I pressed the binding away from the quilt and the quarter inch at the raw edge - well I pressed that up along the entire length of the binding.
Next I folded the binding back onto itself carefully matching the sewn edge of the binding to the folded up 1/4" folded edge of the binding. I pinned at the quilt side of the binding and pinned the loose binding close to the edge of the quilt.
Next I flipped the quilt over to the back side for sewing. Where I sewed was right along the edge of the long side binding. The long side binding is your guide so not cutting it off helps a bit. Sew one side and then the other.
Next I trimmed the ends off the corner binding
Then flip the binding right side out and gently poke the corners out
Hand stitch and your done! Peg took some pictures because she has another new quilt that has the same time of corners and now she knows how to bind them. I have not seen this done anywhere, I just figured it out. It looks curved in the picture but it was straight.
I started out with 3" binding stripes. I know that is sorta wide, but I wasn't sure how it would work with really narrow binding. There is a lot of raw edges to stuff in where you fold the binding over to the stitching line at the sewn edge.
Let me know if you have any questions or if this is a technique that helped you solve a binding problem - I would be intrested.
My knuckle looks pretty good this morning. It has healed up much faster than I thought it would.
Look at the sky this morning - so pink!
Monday, January 7, 2013
Sewing and home improvement
I will start out with the sewing. I worked on the African fabric blocks and here is what I have sewn together. I still need to trim these blocks.
I spent 22 hours this weekend working on the house and getting a handle on all those piles of trim I showed you on Friday. I even had more trim I forgot in the garage and in the office, but now I have it pretty much gathered and organized. Here is some of the trim all nice and labeled. I went thru eveything and wrote on the back side of each piece what is was for so when it goes to the painting station I don't have to remember where it goes.
Here are the painting stations set up in the living room. After priming the wood, I give it a quick sand with fine steel wool, and then give it two thin coats of paint.
So between trim painting sessions I put the final coat of paint on the downstairs closet, installed the flooring, and nailed in the quarter round which I had salvaged, sanded and repainted. So the closet is done! This closet had never been painted since the builder threw on a coat in the early 60's when the house was built. Now it seem so nice and fresh!
While I was putting in the flooring a couple of things finally dawned on me. The peel and stick tile just would not stick to the floors. My house is a bi-level and back in the day the builders did not put vapor barrier under the slab before pouring so there is always ground moisture in the concrete. With that the tile just doesn't want to stick even though I primed the floor. The light bulb finally came on and I decided to put some Loctite Power Grab on the back of the tiles. Eureka! I used my rubble mallet to tapped the tiles down and squash out the Loctite and those tiles are not going to move! I pity the person who ever decides to try and take up this floor!
I also used the Loctite to glue the nailing blocks for the trim at the windows. If you want something to be stuck FOREVER this stuff will do it!
When I was working on cutting the tiles to go around the trim
I was using this
after the utility knife slipped and I cut the heck out of my knuckle it dawned on me I should have been using this to cut the tile
My knuckle is much better today and I think it will be fine a few days.
I also sanded, primed and painted the entry to the master bedroom. Can you believe the living room was painted that horrible purple/red color and I still bought this house? This entry was not here when I bought the place. There was a closet and a couple of crappy cabinets in this area. Also there were two entries into the upstairs bathroom. I had help closing off the one entry, ripped out the closet and put up the
wall to make an entry for the master. I will not be installing the baseboard until I get the floors refinished.
The wall before when the entry to the bathroom was
After
Here is where a cabinet was
and now
My brother is going to come over next week to help me with some tasks that I cannot do alone like hanging drywall and 6' window trim, so the next week will be all about getting done what I can do to prep for him coming over.
I spent 22 hours this weekend working on the house and getting a handle on all those piles of trim I showed you on Friday. I even had more trim I forgot in the garage and in the office, but now I have it pretty much gathered and organized. Here is some of the trim all nice and labeled. I went thru eveything and wrote on the back side of each piece what is was for so when it goes to the painting station I don't have to remember where it goes.
Here are the painting stations set up in the living room. After priming the wood, I give it a quick sand with fine steel wool, and then give it two thin coats of paint.
So between trim painting sessions I put the final coat of paint on the downstairs closet, installed the flooring, and nailed in the quarter round which I had salvaged, sanded and repainted. So the closet is done! This closet had never been painted since the builder threw on a coat in the early 60's when the house was built. Now it seem so nice and fresh!
While I was putting in the flooring a couple of things finally dawned on me. The peel and stick tile just would not stick to the floors. My house is a bi-level and back in the day the builders did not put vapor barrier under the slab before pouring so there is always ground moisture in the concrete. With that the tile just doesn't want to stick even though I primed the floor. The light bulb finally came on and I decided to put some Loctite Power Grab on the back of the tiles. Eureka! I used my rubble mallet to tapped the tiles down and squash out the Loctite and those tiles are not going to move! I pity the person who ever decides to try and take up this floor!
I also used the Loctite to glue the nailing blocks for the trim at the windows. If you want something to be stuck FOREVER this stuff will do it!
When I was working on cutting the tiles to go around the trim
I was using this
after the utility knife slipped and I cut the heck out of my knuckle it dawned on me I should have been using this to cut the tile
My knuckle is much better today and I think it will be fine a few days.
I also sanded, primed and painted the entry to the master bedroom. Can you believe the living room was painted that horrible purple/red color and I still bought this house? This entry was not here when I bought the place. There was a closet and a couple of crappy cabinets in this area. Also there were two entries into the upstairs bathroom. I had help closing off the one entry, ripped out the closet and put up the
wall to make an entry for the master. I will not be installing the baseboard until I get the floors refinished.
The wall before when the entry to the bathroom was
After
Here is where a cabinet was
and now
My brother is going to come over next week to help me with some tasks that I cannot do alone like hanging drywall and 6' window trim, so the next week will be all about getting done what I can do to prep for him coming over.
Friday, January 4, 2013
Sorting and sewing
I did some cleaning up in the sewing studio and bought some items to make it easier to find stuff when I looking for it. Here is the top of my bookshelf where I used bread pans to keep various items - pencils, pens, tape, and all sorts of little things. Kind of a mess.
Now the mess is all wrangled in this drawer system I bought for $6.88 and the pans will go back to baking bread.
I also took these old storage drawers and this sewing box, sorted the contents, put like thing together, put the small stuff like beads into the drawer system on the bookcase ...
and put the contents into these snap containers I bought at JoAnn's for half price plus and extra 10% off when I was visiting my friend, Peg, over New Years. Now all the zippers are together, the laces and ribbons are together, etc. when they were in multiple containers. Again, it will make it easier to find what I am look for and I also pitched some useless stuff. The old storage drawers will be going out to the garage for storing nails and screws and not to the trash.
I am going to spend some of my weekend working on the house. I need to put a finish coat of paint on this closet that I emptied out last week and primed. This closet is beside the steps and there is a panel that goes in the opening to access under the steps where the water meter is located. I took the panel off to paint it. I painted the walls and floor in the access area years ago to clean it up. I also tore out the old flooring and will be extending the peel and stick flooring I used in the foyer into the closet.
I plan on trying to get some trim installed also. I have trim everywhere! Some of it is sorted and marked, but I need to go thru it again so I can figure out what goes where and if I am missing anything. I ripped out most of the woodwork in the house - it was a cheap builders grade and was beat to hell. I did keep a few pieces that I can't replace with the new wider baseboard I bought because the new wide stuff would not match up around the stairs. So here are my piles
this was in the closet that I am painting
window parts, baseboard, trim for the skylight, and who knows what else!
Crazy wouldn't you say? It is like one giant puzzle!
I do have a sewing project that I dug out when I was doing a lot of sorting out over New Years. I got out my box of African Dutch Wax prints and had started makie quarter log cabin block which I use for baby quilts and other quilt projects. Here is the pieces and parts along with blocks in various stages of construction. This will be something I can work on between installing trim.
I think I have enought to keep me occupied for the weekend. What are you going to be doing? Have a great weekend!
Now the mess is all wrangled in this drawer system I bought for $6.88 and the pans will go back to baking bread.
I also took these old storage drawers and this sewing box, sorted the contents, put like thing together, put the small stuff like beads into the drawer system on the bookcase ...
and put the contents into these snap containers I bought at JoAnn's for half price plus and extra 10% off when I was visiting my friend, Peg, over New Years. Now all the zippers are together, the laces and ribbons are together, etc. when they were in multiple containers. Again, it will make it easier to find what I am look for and I also pitched some useless stuff. The old storage drawers will be going out to the garage for storing nails and screws and not to the trash.
I am going to spend some of my weekend working on the house. I need to put a finish coat of paint on this closet that I emptied out last week and primed. This closet is beside the steps and there is a panel that goes in the opening to access under the steps where the water meter is located. I took the panel off to paint it. I painted the walls and floor in the access area years ago to clean it up. I also tore out the old flooring and will be extending the peel and stick flooring I used in the foyer into the closet.
I plan on trying to get some trim installed also. I have trim everywhere! Some of it is sorted and marked, but I need to go thru it again so I can figure out what goes where and if I am missing anything. I ripped out most of the woodwork in the house - it was a cheap builders grade and was beat to hell. I did keep a few pieces that I can't replace with the new wider baseboard I bought because the new wide stuff would not match up around the stairs. So here are my piles
this was in the closet that I am painting
window parts, baseboard, trim for the skylight, and who knows what else!
Crazy wouldn't you say? It is like one giant puzzle!
I do have a sewing project that I dug out when I was doing a lot of sorting out over New Years. I got out my box of African Dutch Wax prints and had started makie quarter log cabin block which I use for baby quilts and other quilt projects. Here is the pieces and parts along with blocks in various stages of construction. This will be something I can work on between installing trim.
I think I have enought to keep me occupied for the weekend. What are you going to be doing? Have a great weekend!
Thursday, January 3, 2013
Looking back and then forward
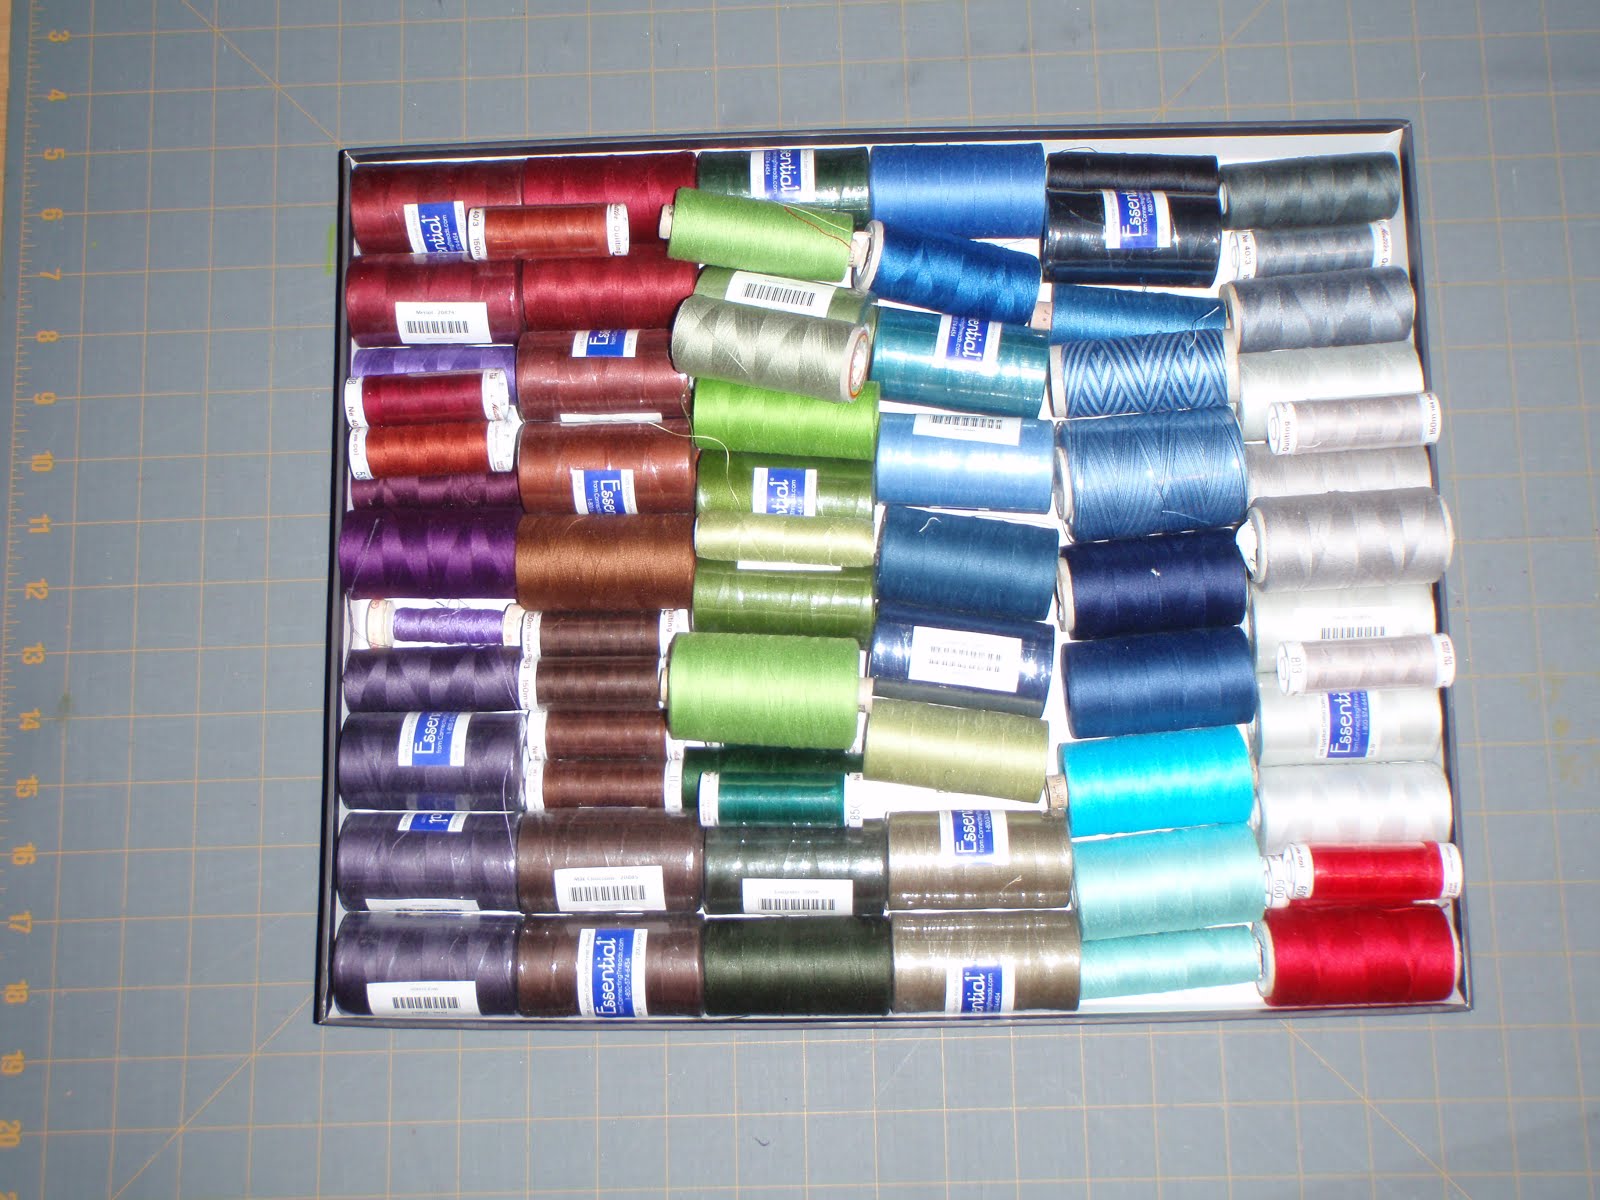
I like to keep stats on how much cotton quilting thread I go thru in a year. I started out with 96,100 yards, added 25,276 yards, gave away 2,400 yards for a total starting number of 118,976. The amount I have at the end of 2012 is approx. 97,506 yards for a 2012 usage of 21,470 yards.
January 3, 2012
January 3, 2013
January 3, 2012
January 3, 2013
I am finding that I don't use much dark colored quilting thread. I do have some UFO's that will need darker colored thread so maybe I will get those out and make a dent in those spools.
I also keep all my spools I empty for the years, which was 63 spools for 2012. There were so many they all did not fit in my large mason jar.
I spent some time last evening installing one piece of extension jamb in one of the windows in the fabric storage room. I could not install the jamb all the way around the window because I had to glue the nailing blocks and I need to let the glue dry before I can continue. The nailing blocks are for the trim and will also help support the extension jamb.
window before the jamb and nailing blocks were installed
after
January 3, 2012
January 3, 2013
January 3, 2012
January 3, 2013
I am finding that I don't use much dark colored quilting thread. I do have some UFO's that will need darker colored thread so maybe I will get those out and make a dent in those spools.
I also keep all my spools I empty for the years, which was 63 spools for 2012. There were so many they all did not fit in my large mason jar.
I spent some time last evening installing one piece of extension jamb in one of the windows in the fabric storage room. I could not install the jamb all the way around the window because I had to glue the nailing blocks and I need to let the glue dry before I can continue. The nailing blocks are for the trim and will also help support the extension jamb.
window before the jamb and nailing blocks were installed
after
Subscribe to:
Posts (Atom)