Tuesday, February 27, 2018

AHIQ monthly post

I had named my oversized log cabin quilt
as my project for the first half of 2018, but I have put the Harley quilt ahead of it. I got the backing taped down, spread out the batting, and the top is now ready for pin basting. The top is about 82" x 94".

The sooner I get this quilt done, the sooner the lady running the poker run can start to sell the raffle tickets for the quilt. This will be for the 8th annual poker run honoring the ladie's daughter who was killed in an automobile accident. All the proceeds go to charity in honor of her daughter. This will be the third quilt I have made for this event. So therefore, I have dropped everything and will work on the quilt until I get it done.

I will be linking up to Kaja's Sew Slowly and Ann's Fret not Yourself

Monday, February 26, 2018

Two out of three

I had three sewing projects to try and get done this weekend, and I got two done. I got this boxy pouch made for my sister

Charlene had asked some questions about the handle so here is some details. I cut a piece of fabric 4" by 9"-10" - no exact size. Iron on some interfacing
Press in half lengthwise
Open it up and press each side to the middle
Press in half and topstitch

Fold the corner and stick the handle between the layers
Sew and trim. I always sew it twice.

Fold the other corner and feed the handle between the layers. Don't pull the handle too tight. Stitch and trim. I hope this helps clarify how the handle is attached.

I got the Harley t-shirt quilt top sewn together. I switched up the columns of shirts and I like the way this looks now. I wanted to arrange the colors so there was more of a secondary designe rather then willy nilly like in the past.

Here is what the Harley quilts looked like in the past.
2016
2017

I started feeling like I was getting a cold on Saturday. I decided to take it on with everything I had in my arsenal. My brother had given me a small tin of Zam-Buk last year that he had brought back from overseas. I used it for cold sores and they would go away in a matter of two days. I like this stuff so much he sent me a 60g tin of it. I dived into the big tin and rubbed it all over my chest about every 8 hours all weekend. The cold seems to be starting in my chest. I am feeling a bit better and not coughing hardly at all.

The biggest difference between this and VapoRub is that VapoRub had turpentine in it!

The little container says it is a hospital in your pocket. Friday my left forearm hurt so bad from all the typing I was doing. I couldn't even flip the turning signal on because my arm between the wrist and elbow hurt so bad. When I got home I rubbed some Zam-Buk on my arm and within a few minutes the pain was gone. It strongly smells of eucalyptus which doesn't bother me.

What I didn't get done was the road case cover, but that won't take too long to make.

Friday, February 23, 2018

What do you think?

I cut up more t-shirts yesterday and here is what the top looks like now. My thought was to put all the dark shirts in the middle and at the corners. The outside edges would be the different, brighter colors of shirts.

I have lots of interesting places represented on these shirts - Belize, Aruba, Kuwait, England, and Switzerland along with shirts from all over the USA.

This weekend I need to make a boxy pouch from this fabric for my sister

Make a cover for this road case for one of my brothers
and I would like to get the Harley t-shirt top sewn together.

What are your big plans for the weekend? Whatever they might be, have a great weekend!

Thursday, February 22, 2018

T-shirt quilt and bridge

I got started on cutting up the t-shirts for this year's Harley Davidson poker run quilt. I haven't decided on a final arrangement. I am just trying to get the shirts cut up and interfaced at this point.

Last Friday I had more training for work and one of the activities was a team building project. We were given a grocery paper bag with assorted items and were told to build a bridge that met the rules. Two prizes were awarded - the best looking bridge and the one that held the most weight. Our bridge won the prettiest for it's tropical look! LOL!!

Wednesday, February 21, 2018

Boxy pouch tutorial - my way

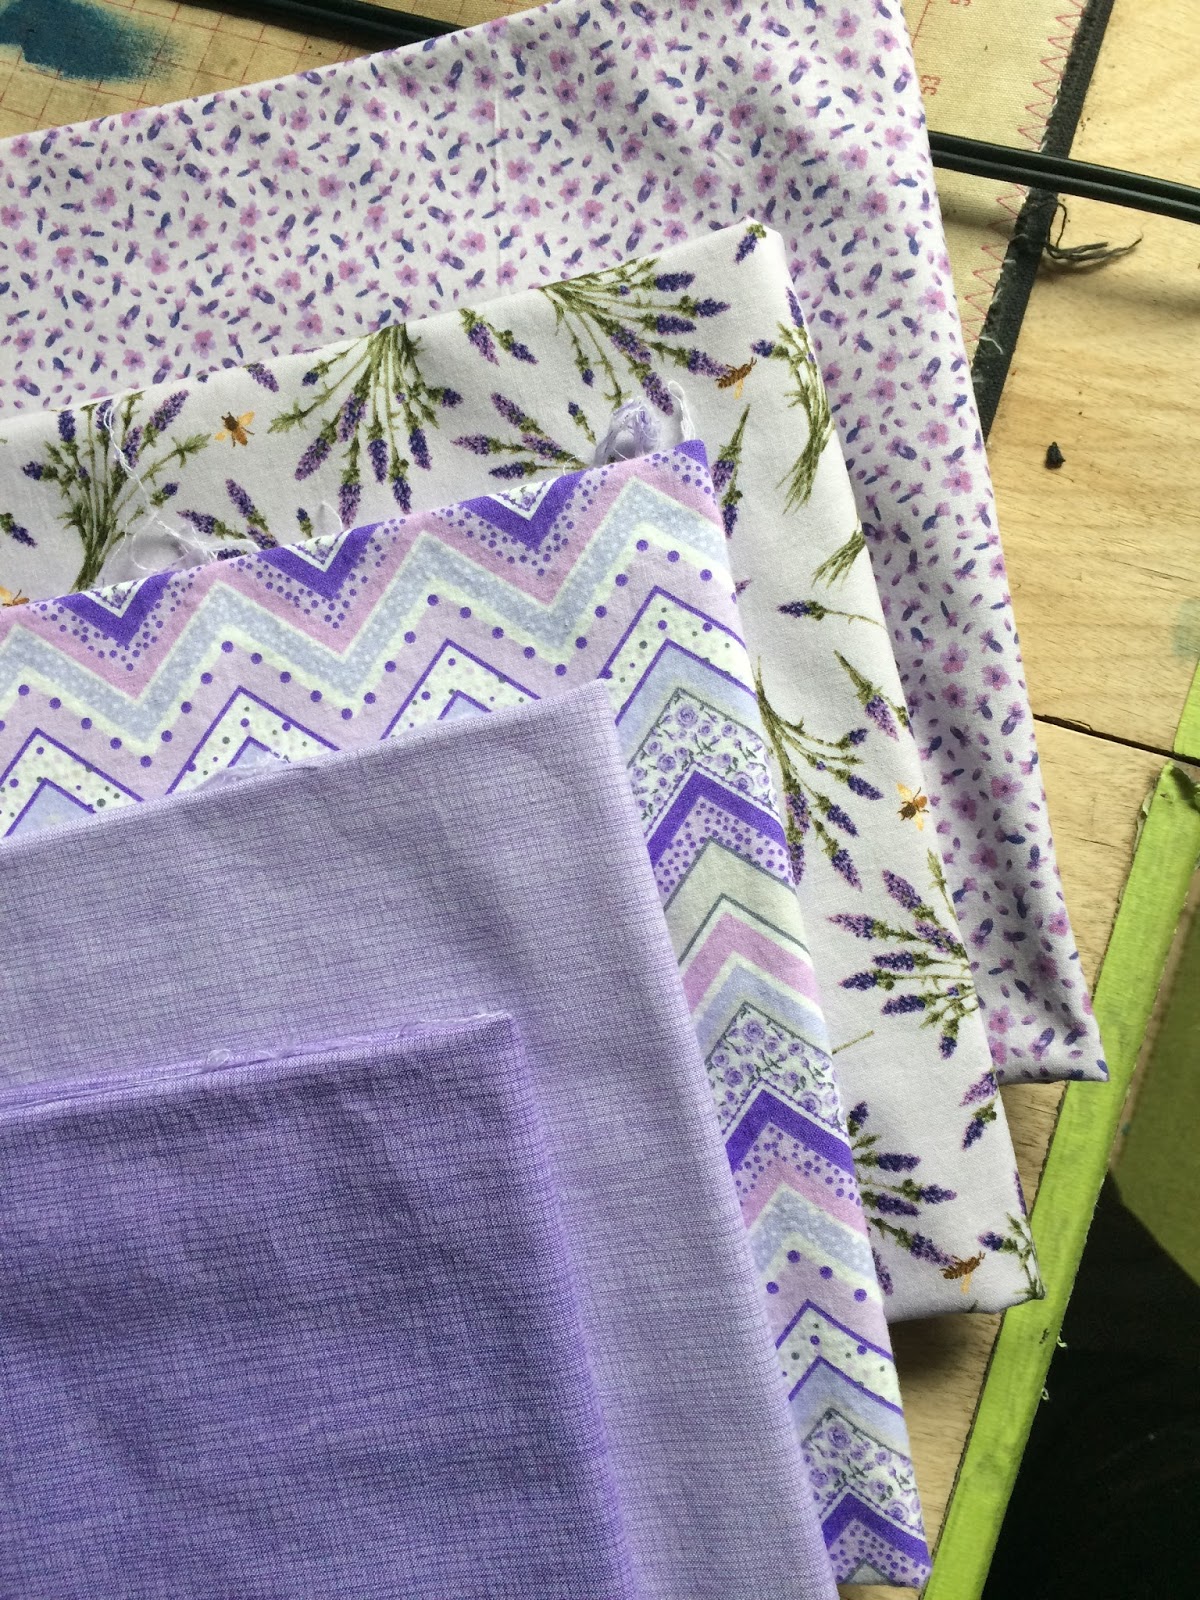
First the zipper - I bought a bundle of 100 zippers for $15.00. Yes, I should never have to buy another zipper! I liked these zippers because of the length and the pull. A longer zipper is important key in making this pouch easier to construct.

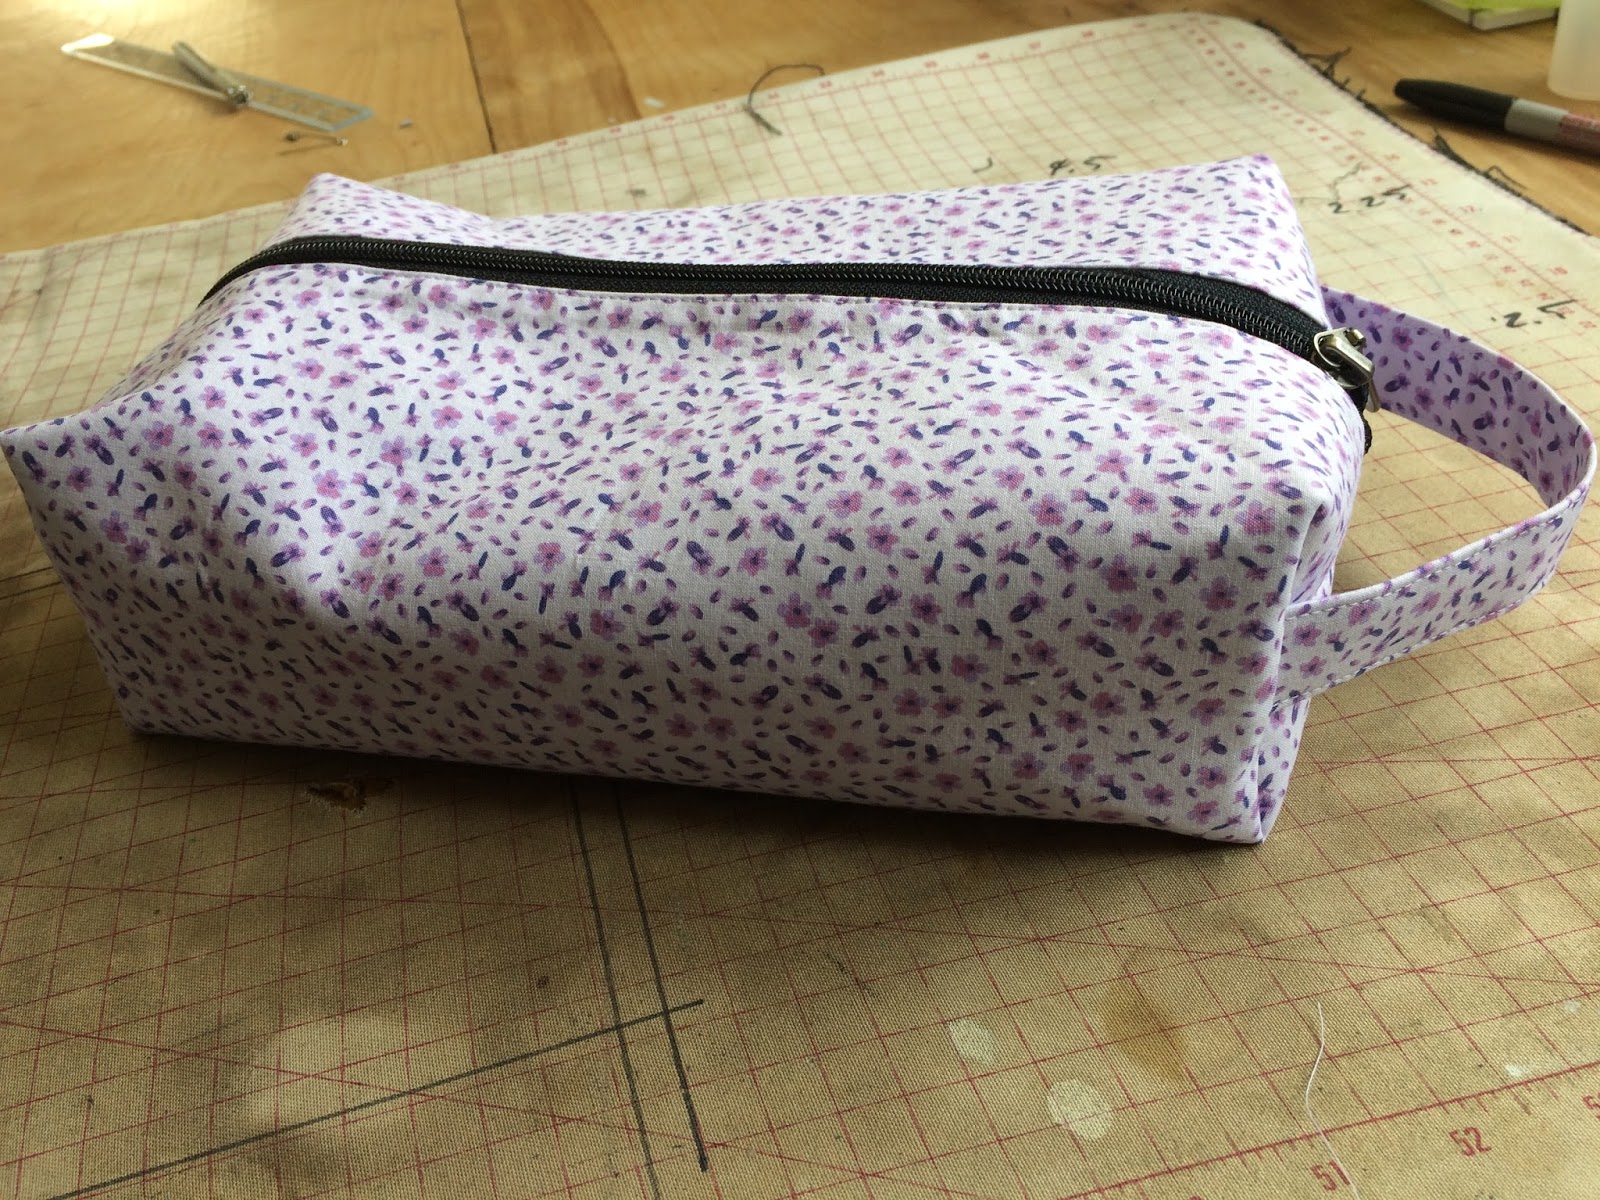
First, the size. I wanted to make a pouch for my knitting.
I needed it to finish about 14" long so I cut the fabric 17 1/2" - that would be 14" for the length 3" for the boxed ends and 1/2" for the seams. For the width - well, I haven't done enough of these to come up with a formula, but for this bag I cut the width at 10 1/4" which made the bag come out to 6" wide by 3" tall. For those other bags I made I had cut the width at 9" and they bags came out about 4 3/4" wide and 3" tall. So for this bag I cut the outside fabric and lining pieces 17 1/2" x 10 1/4" and ironed on iron-on interfacing on all pieces. I used a woven iron on interfacing like Pellon SF 101.

Sandwich the zipper between the outside fabric and the lining. TIP - always start with the top of the zipper. This is where a long zipper is helpful because you can open the zipper up and never have to worry about dealing with the zipper pull when you sew.

After sewing the zipper, flip both the lining and outside fabric so wrong sides are together, press away from the zipper and top stitch thru all the layers.

Now close the zipper so you make sure you have it in the right position and layer the other piece of lining and outside fabric with the zipper in the middle. Make sure you start at the top of the zipper. The position of the fabric will be the opposite, but you want to sew the zipper in the same direction. Press back the fabric, topstitch, and it should look like this

Close the zipper, layer the two halves with the outside fabric together and sew the long seam which will be at the bottom.

Open up the zipper and press that bottom seam open. Use some kind of a decorative or a zig zag stitch to sew that seam down thru all layers. With the seam sewn down it makes the bag a lot neater on the inside. Sometimes I have to trim the seam a bit before I sew it down to even up the layers.

Close the zipper and starting at the bottom of the zipper side of the bag, fold the bag so that the zipper is lined up with the bottom seam. I put a pin on each side of the zipper to hold the layers together.

Mark for the corners that will be cut away to make the pouch a box. I mark the corner 1 1/2" from the raw edge and 1 3/8" from the folded edge because you have to allow a bit for the fold.

Sew the seam between the corner marks. I sew the seam twice because I want to make sure this bag never comes apart.

Put your machine on a wide zig zag and tack across the zipper so you can cut the zipper off. Also cut out the corners.

Fold the corners and stitch. Don't freak out if the corners dont' line up exactly. Just even out the fabric side to side, stitch it, and trim. I didn't zig zag the raw edges since they are on the bias, but you could if you want.

Open the zipper up and lets do the other end. FIRST, make a handle! I cut a piece of fabric 4" wide and longer than I thought I needed - about 9" for this bag. press on some interfacing, fold the piece in half lengthwise, fold the sides to the middle, press and stitch on each side.
I forgot to take any pictures of this, but it is a simple handle.

With the zipper open, pin the zipper on each side with the bottom seam lined up under it.

Mark the corners just like you did before.

Sew the seam between the corner just like you did before.

Fold the corner and stick in the handle between the layers and sew. Just make sure the handle doesn't get twisted when you layer it in the other corner.

.

Your done! Turn the bag right side out. I did stuff a hand towel in the bag one end at a time and pressed the seams a bit.

Let me know if you have any questions!