I am going to take you step by step so get ready for a long post with lots of pictures! First layout the two halves of the quilt.
Make sure your tick marks line up
Flip the right half of the quilt on top of the left half and line up those tick marks so you are sewing them together correctly.
Sew the seam and then flip the right half back so you can see the front. Finger press the seam. I usually get the seam going in the direction I need it to be then run over the seam line with my fingernail to get a good crease.
Now I take the print with the lavender triangles and flip it on top of the music print. The orange line shows the seam I will be sewing next.
Flip the right half back and finger press the seam. You can feel which way the seam needs to go from where you pressed the seam when you sewed together the right half.
Now flip the right half over so the next seam can be sewn. That seam is shown with the orange line
Flip and fingerpress then the bicycle fabric is next to be sewn.
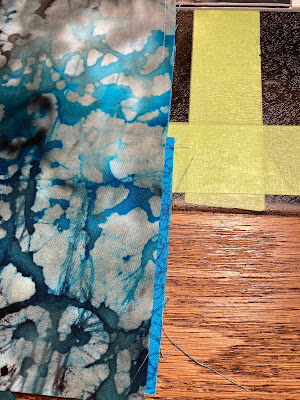
It is easy to understand which seam needs to be sewn next. The hardest part is getting the fabric straightened out to sew the seams. Now you could run into a situation like this where the fabric doesn't match up perfectly. See how the bottom piece is just a bit longer?
No problem! Just lay the top piece so it is straight and let the bottom piece stick out the same width to the bottom of where you will be sewing. I don't bother trimming it.
You could also run into this issue where the top piece is shorter than the bottom piece.
No problem! Just sew the seam. When you flip it back to the front you have that piece that is longer situation again.
Just line up the next seam and let the extra hang out. Again I didn't bother to trim.
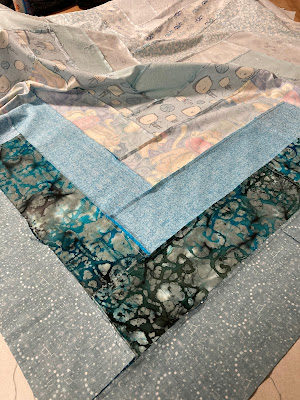
Just keep going until you get to the bottom. I then press the now sewn partial seams with an iron
Here is the top all sewn together. I know it looks too big for a baby sized quilt, but once it is trimmed it will look a whole lot different. Tomorrow I will post on how I trim this top. Let me know if you have any questions and I would love to see photos of what you are making.


No comments:
Post a Comment