I have been busy! Meetings and training at work, mowing grass, and making more project bags. Here are the four I finished last evening.
If you want to know how I make these - read on! Here is my cheat sheet I use for cutting all the parts for a finished 12" x 14" project bag.
Here are all the parts for one bag.
Press the interfacing on the lining piece. I check the size after pressing just in case anything grew a bit. Trim as necessary.
Take the 2" x 15" strip and press it in half lenghtwise
Take the 4" x 15" strip and press it in half then press each raw edge to the middle so you end up with a 1" wide strip
To make the zipper unit sew the double folded strip to the zipper. Make sure the strip goes all the way to the end of the zipper
Now sew the folded 2" strip to the other side of the zipper with the folded edge next to the zipper teeth.
I put my regular sewing foot back on the machine and sew the vinyl panel on the zipper by sliding the vinyl between the folded strip. Make sure the vinyl sticks out beyond the strip a bit. You need this for trimming and squaring up the zipper unit.
Lay the completed zipper unit on top of the lining piece. Make sure the zipper opening side is lined up with the edge of the lining. Make sure the zipper unit is lined up across the top edge.
I put in an old blade in my rotary cutter and start trimming the zipper unit at the bottom first. Hold the ruler steady because it can slip very easily on the vinyl. I also found that using this 3" ruler to trim with is easier that trying to use a big square ruler because of the zipper slide.
I open the zipper slide so I can trim the zipper opening side then trim the other side.
Take the trimmed zipper unit and place it on top of the wrong side of the outside fabric. Make sure if your fabric has a one-way design that the fabric is orientated the right direction. Yes, I have made that mistake! LOL!! The border around the zipper unit is an inch. Don't fret if it is a bit more than an inch; just make sure the sides measure about the same and the top and bottom are equal. IF THE BORDERS ARE SMALLER THAN 1", trim the zipper unit and lining so you do have at least an inch.
Hang in there - almost done! Take the border on the right side and fold it almost to the edge of the zipper unit and press.
Fold the border over again and press keeping the iron just on the edge so you don't hit the vinyl. Make sure the vinyl is tucked well into the fold, the vinyl at the bottom is where it should be and then I like to put a couple clips to hold the folded border in place.
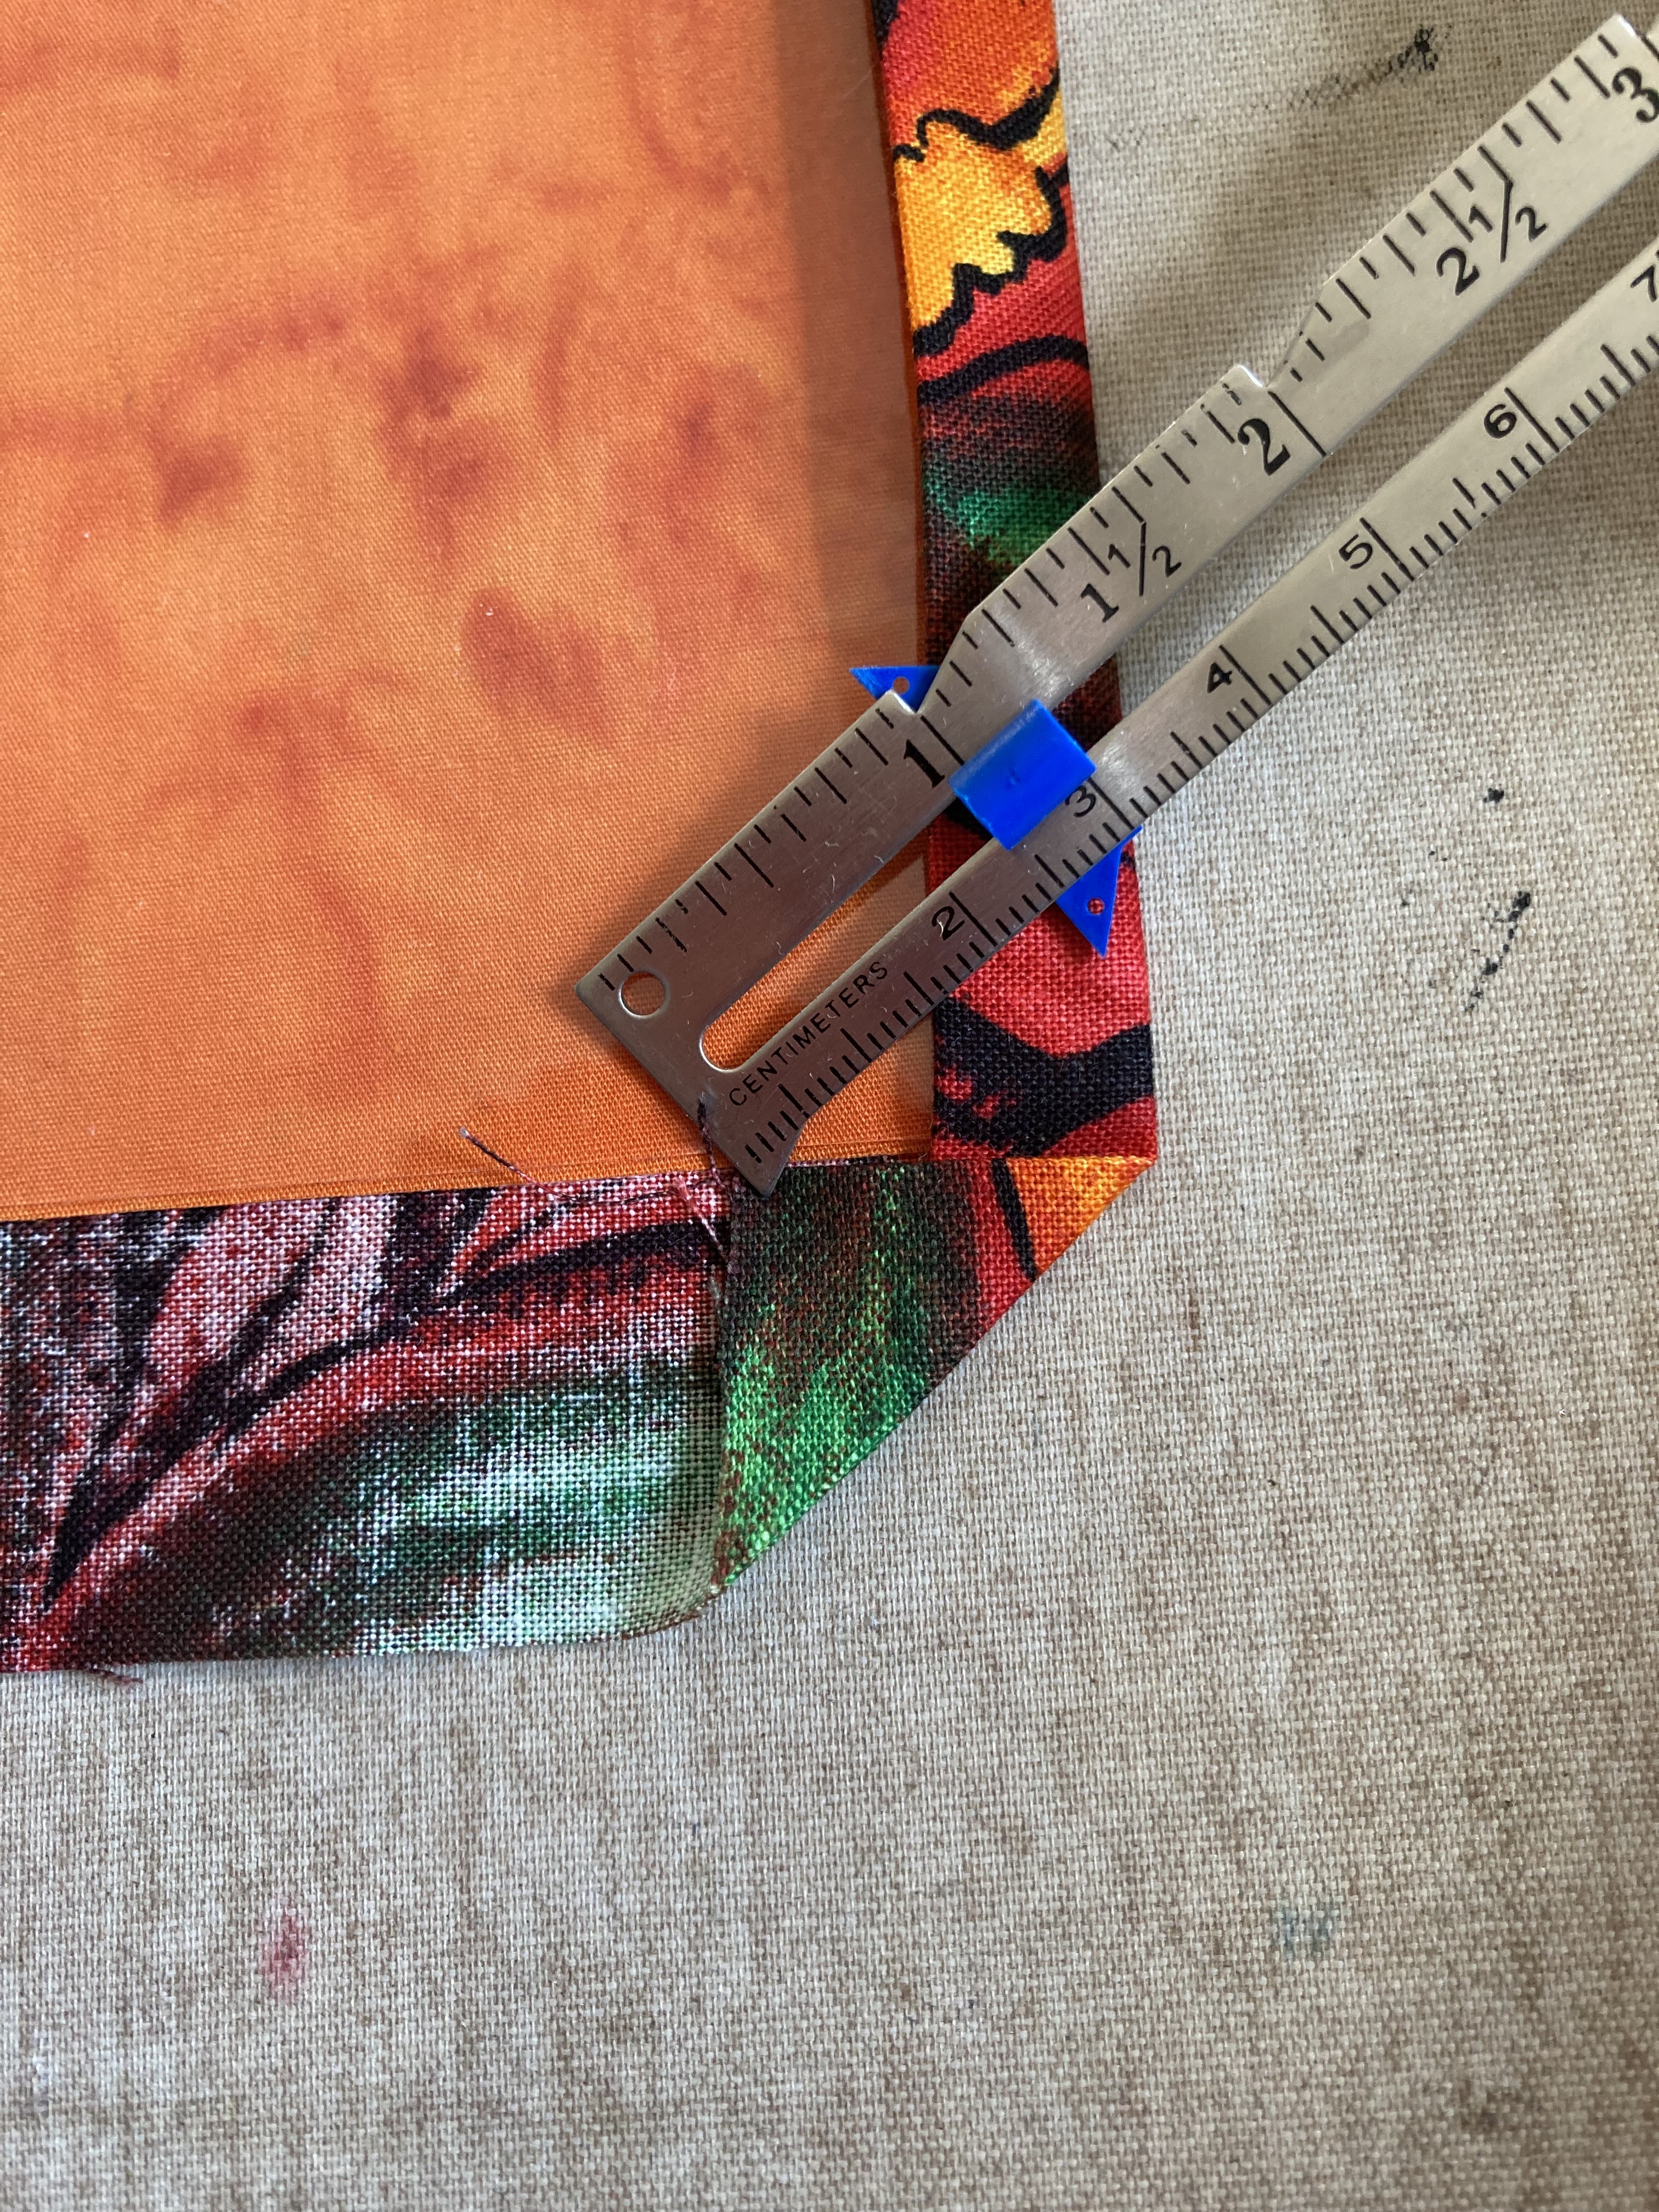
Fold the bottom corner as shown and press
Start to fold over the border at the bottom of the bag making sure you fold the corner nice and tight. Press that corner
Press the bottom border to the halfway mark just like the first side
Start pressing the border over for the second time at the corner to form the miter. Give the corner a press and put a binder clip on it.
Continue pressing the border across the bottom adding binding clips to hold it in place. Press your corner again and work your way up the left side of the bag. At the top you will press the corners over at each end. Then fold the border over just like you did before.
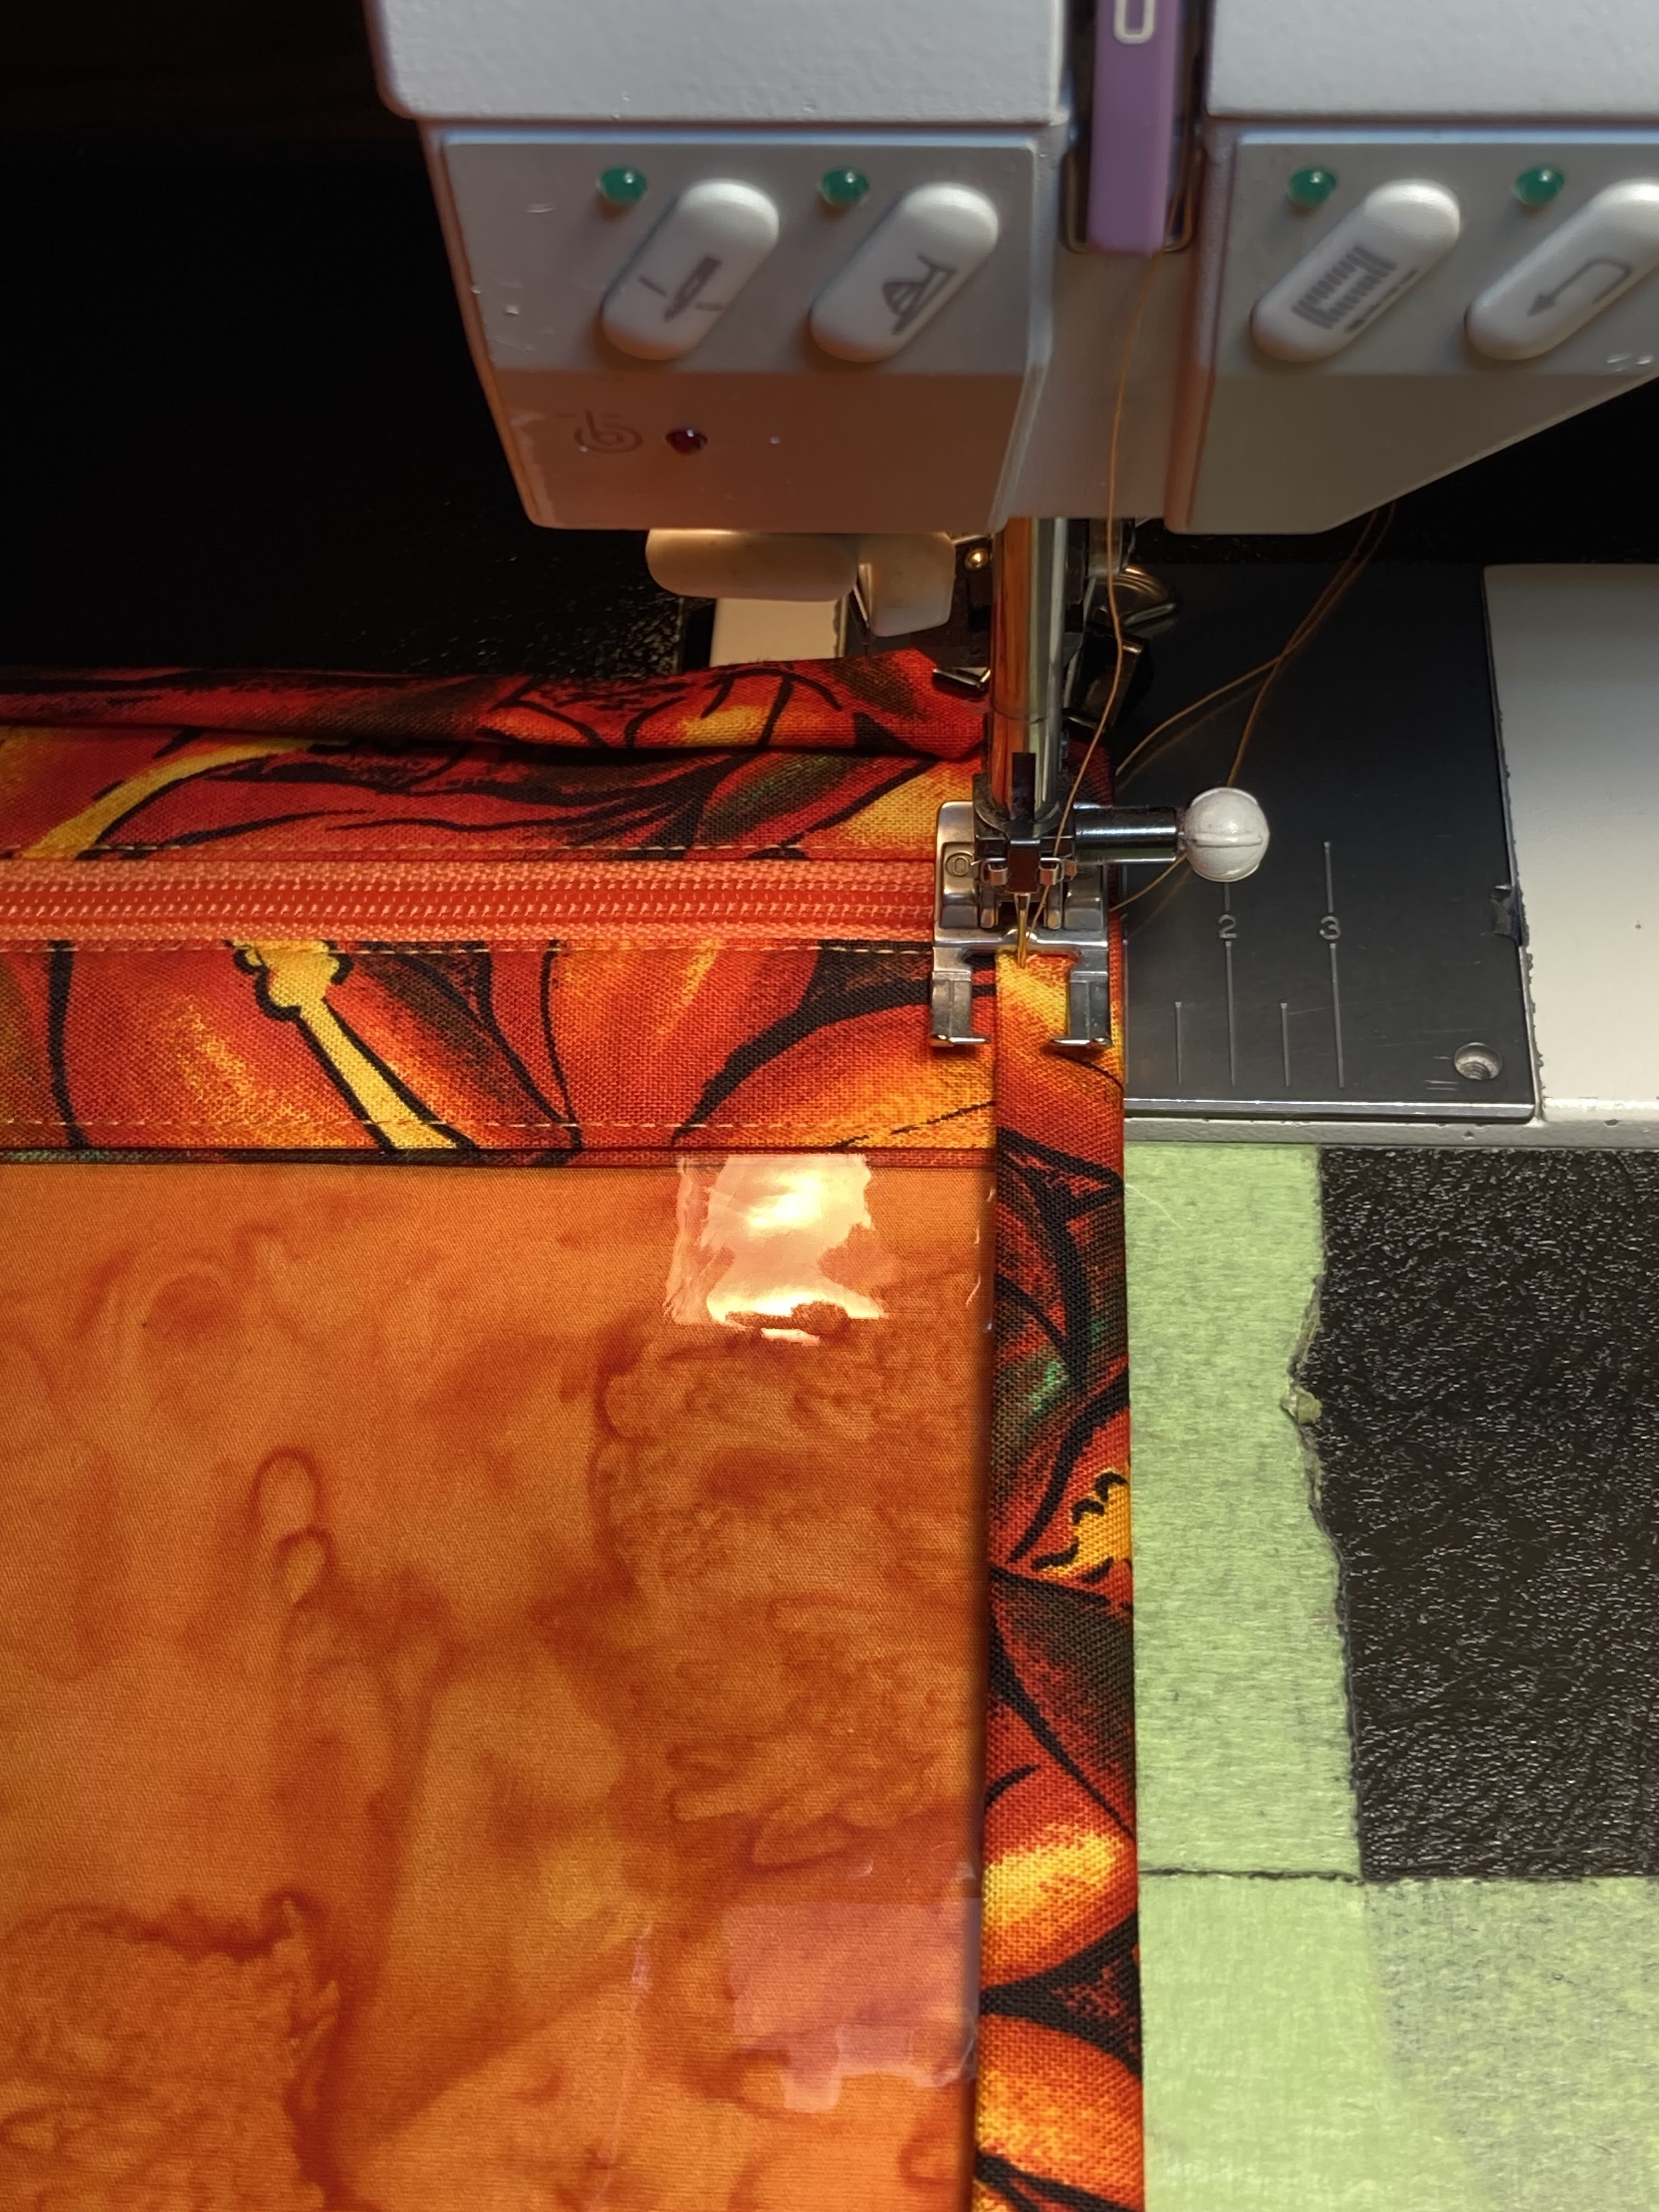
For sewing I start on the right side just passed the zipper teeth. I stitch close to the edge.
Once you get within a couple inches of the corner the fabric might look like this.
I just take my seam ripper, pull the fabric toward the corner, and slowly stitch and tuck the fabric under the corner.
I take a couple stitches to catch the bottom border fabric, backstitch, turn the bag 90 degrees, do a couple back stitches and continue to sew around the bag. Here is what my corners look like stitched. I also triple stitch the ends of the zippers since there will be more stress on that area then the rest of the bag.
Now your done! You can make this bag any size you want. Just add 2 inches to what ever size bag you want for cutting the outside fabric. This bag is 14 x 12 so I cut the outside fabric 14 x 16. If you want a bag 15 x 16, cut the ouside fabric 17 x 18. Let me know if you have any questions.