Thursday, April 7, 2016

Deconstruction continues and how to save your Easter Lily

I got the lighter blue jeans all taken apart last evening. I then started on taking a pair of Docker style pants apart. I want to add a bit of the khaki fabric and not use just all denim.

I have two more pair I will deconstruct - a medium color and a light color - and then I think I will be ready to make the quilt.

I did get a bit of knitting done also. My red scarf is now 5" long. Since it has been rather cold the last couple of day I did get to use my new gray scarf and I have to say I love it! It is warm, just the right width for my short neck, and I love the texture that the seed stitch gives it. I am knitting the red scarf with the seed stitch also. I am using size 4 needles. I knit on the loose side so I need to use smaller needles.

I also spent some time looking over this book. I love cookies! I have marked as you can see with the pieces of post-it-notes sticking out the top of the book, recipes that I want to try. I borrowed several books from the library on cookies. Some of the books didn't have pictures of the cookies with the recipes which I don't like. The MS book had a beautiful colored picture for every cookie in the book.

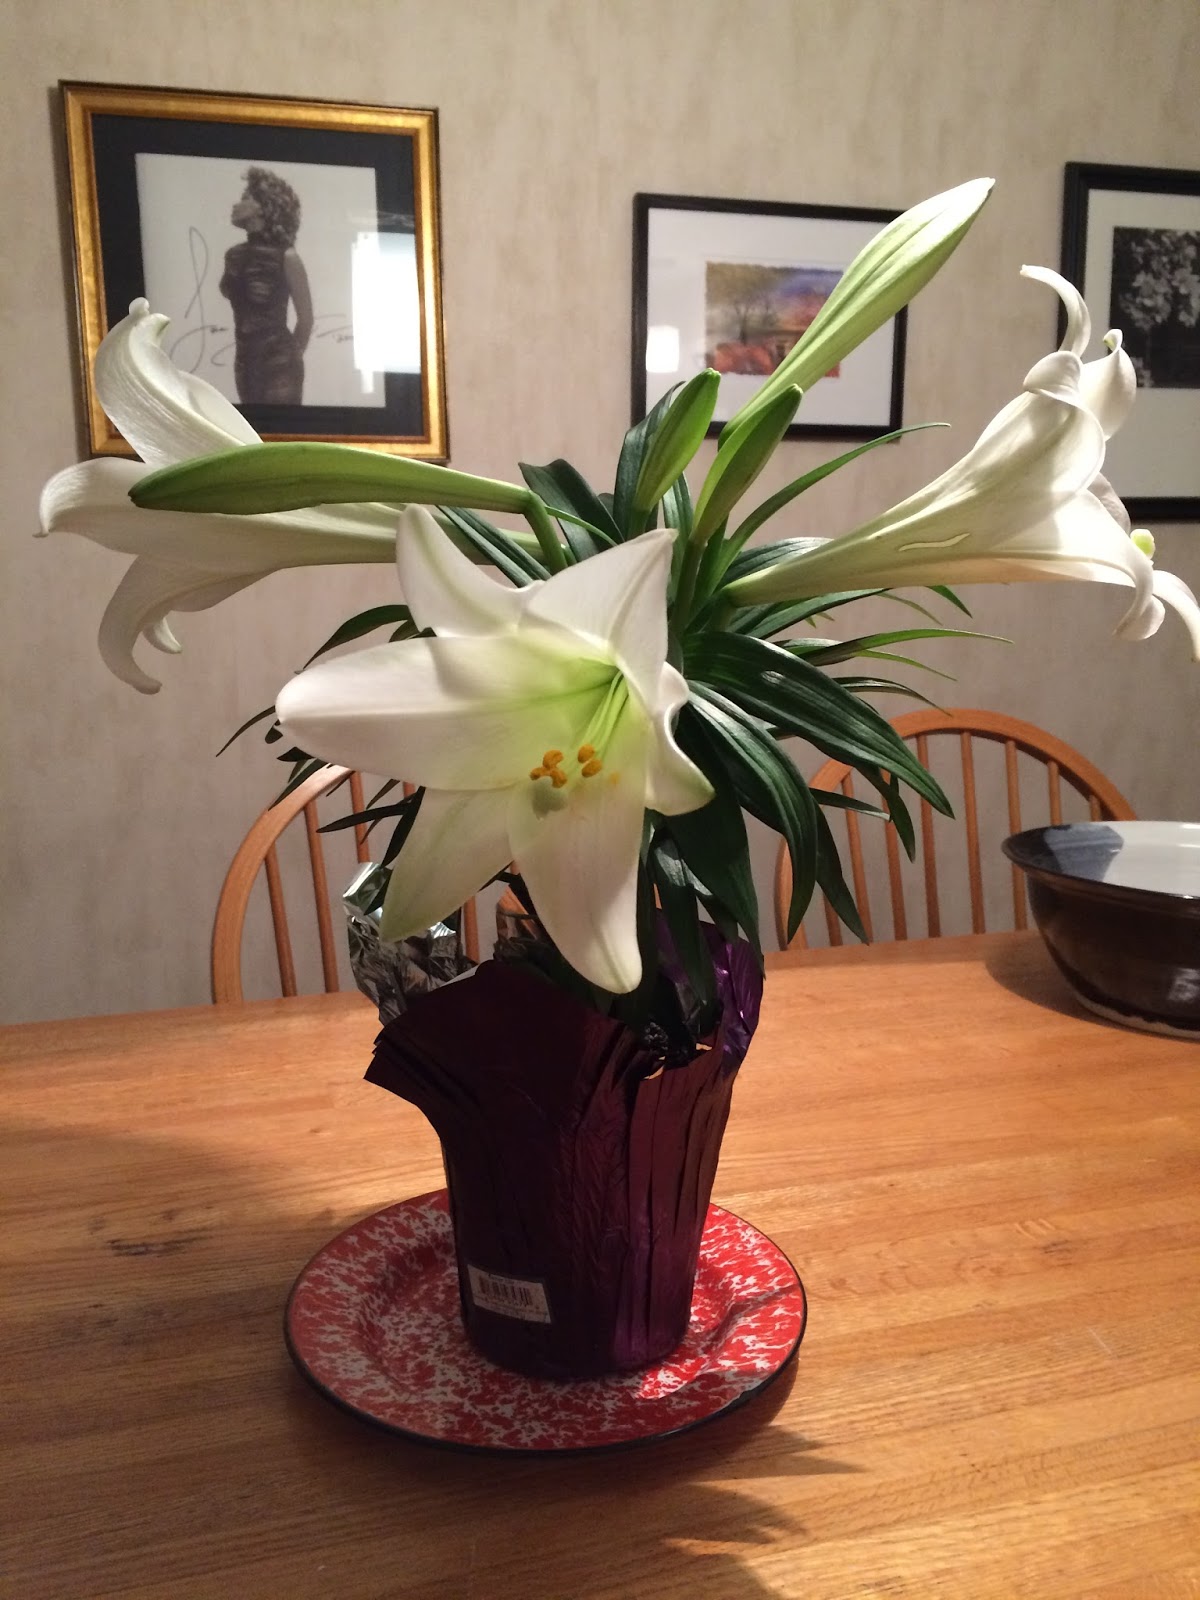
I found this information on-line on what to do with your Easter Lily to save it for next year. I am going to print this off, post it on my fridge, and try to remember to do as it says.

Step 1
Allow your Easter Lily plant to completely bloom. When the last flower has begun to wilt and die, carefully cut the flower off.
Step 2
Trim up any dead leaves or stalks on the plant with the scissors. Don't cut too short into the leaves because this may actually kill the plant entirely. Only trim off the dead portions.
Step 3
Keep the plant indoors until the temperature outside warms up, and there is no longer a threat of a freeze. If you plan on keeping the plant indoors entirely, you can simply keep it in its current environment.
Step 4
Water the Easter Lily regularly, and add fertilizer to the plant once a month. This will keep essential nutrients in the soil and feed the plant. In addition, you will also want to keep the plant in regular sunlight for at least 8 hours a day. Lilies like "their feet in the shade and their heads in the sun" according to many gardeners, so they like to have deep roots, at least 2 inches below the soil, but they also like regular sun exposure.
Step 5
Plant the Easter Lily in an outdoor location where it will get regular sunlight, water and plenty of nutrient rich soil. There should no longer be a threat of a freeze outside when the Lilies are planted. The Lilies will probably not bloom the first year that they are planted, however you should get a bloom the following June or July after planting.
Step 6
Prepare the Lily plant for winter. Trim back any additional dead leaves and sprouts and heavily mulch over the plant. Cover the plant with 4 to 8 inches of mulch to help protect it from heavy cold over the winter. The colder your winters get, the more mulch you should place over your plant, but there's no need to exceed the 8-inch mulch mark

Wednesday, April 6, 2016

More deconstruction

I am getting good at this! I got a couple more pockets removed and have another pair of jeans almost taken apart. The hardest part is the belt loops and where the manufacturer uses those tiny tacking zig zag satin stiches for reinforcing the stress areas.

I thought I would show you the beautiful Easter Lily that my SIL gave me on Easter. She had bought a bunch of them and gave each family that came for Easter dinner a lily. The smell is wonderful and I have four more flowers that will be opening over the next several weeks. I need to find out how to take care of this and if I can do something to keep it for next year.

Tuesday, April 5, 2016

Prepping jeans, AC/DC shirts, and knitting

I spent much of last evening deconstructing jeans and prepping them for use in a quilt. I thought deconstructing was a more artistic/current term to use rather than what I said yesterday which was ripping them apart! I took off back pockets, cut away front pockets that had rivets, and then pressed the seams flat. I will be doing the same thing tonight as I have more to prep.

While I had the iron on, I interfaced the three more AC/DC shirts that I have acquired in the last week and a half. I only have four more that I need for this project to represent the following albums: Dirty Deeds Done Dirt Cheap, Flick of the Switch, Fly on the Wall, and Blow Up Your Video. I keep watching ebay for a deal. Yesterday I picked up a shirt with The Razors Edge on it. It was marked down to half price and free shipping so it only cost me $10.00. This piece will be a mix of authentic, vintage, and reproduction shirts. The vintage shirts can run a couple of hundred dollars.

I did get a few rows of knitting done too. It was cold this morning so I wore my new gray scarf. I love the texture and the feel. The yarn is so nice. I am making this red one with the same pattern. I think it shows off the hand dyed yarn so nicely! I casted on 25 stitches. The pattern is K1, P1, K1, P1, to the end. I am again knitting two rows with one ball and then carrying up the yarn from the second ball to get a good blend. The pattern called for the scarf to be 72" long, but I just keep knitting and used all the yarn for the gray one and will do the same for the red one. I didn't want to have a little dab of yarn left and I found the scarf is not too long at all even for me and I am short.

Monday, April 4, 2016

12th finish of 2016 and more!

I got the quilt made with the Moda Nocturne fabric done! I used Sulky rayon to free motion quilt it and Warm & natural for the batting. It is 56" X 73".

I haven't showed you the back yet so here it is. The picture is a bit dark as I took this early this morning.

I also got my scarf finished!

and I have the next one started

My next project is to make a quilt using jeans and Dockers. I tore apart some of the jeans yesterday while watching the movie Heartbreak Ridge.

I was given a Pintrest picture of what the recipient of this quilt wants it to look like. It won't take too long and will not be difficult to make. I have one more pair of jeans to take apart then I will start taking apart the Dockers.

Friday, April 1, 2016

Binding is machine sewn on

It took all evening, but the binding is sewn on. I wanted to match the binding to the areas of color of the patchwork. I just couldn't see putting dark binding on the cream area or binding the whole thing with a gray. Yes, it takes a little longer, but I think the look will be worth the result.

Then I sewed the mitered corners.

So I plan on doing the hand stitching this weekend and this puppy will be done! The weather report for Saturday is rain so I will work on indoor stuff. Sunday it is suppose to be sunny so I will head outdoors and do some yard work.

Have a great weekend!

Thursday, March 31, 2016

Binding ready

The binding is ready

Cookies made for the tillers - oatmeal raisin

Got two more AC/DC shirts in the mail

My daffodils are looking pretty! I need to get out and weed before the weeds really take hold. The rain on Saturday will soften the ground and Sunday the sun is suppose to shine so it would be a good time to attack them.


Wednesday, March 30, 2016

Onward binding!

I did manage to finish quilting Nocturne last evening!

Now it is onto the binding. I pulled out the fabric I have left which are a bit bigger than a FQ. My plan right now is to match the color of the binding to the quilt top meaning navy binding to the navy, cream binding to the cream area, etc.

I wasn't sure I was going to get the quilting done because I had to make a batch of cookies last evening at the last minute.
See I have been watching the tile guys on the job site. They are very nice and don't have any problems with me watching. I told them I might pick up some tips! When talking to one of the fellows I was telling him about my bathroom tiling project and how I am having issues with cutting the tile with a tile snapper. He told me to bring my tile and he would cut it for me on their expensive tile saw for cookies! Thus the cookies! I don't know how much longer they will be on site since they are putting up tile very quickly so I needed to act fast! Here is one area they are tiling.